Friday, March 31, 2017

Publishing Stream with Open Broadcaster Software (OBS)


Previously I have explained on how to publish your streaming by using ffmpeg readmore

Now, I would like to explain on how to publish your streaming with Open Broadcaster Software (OBS) 

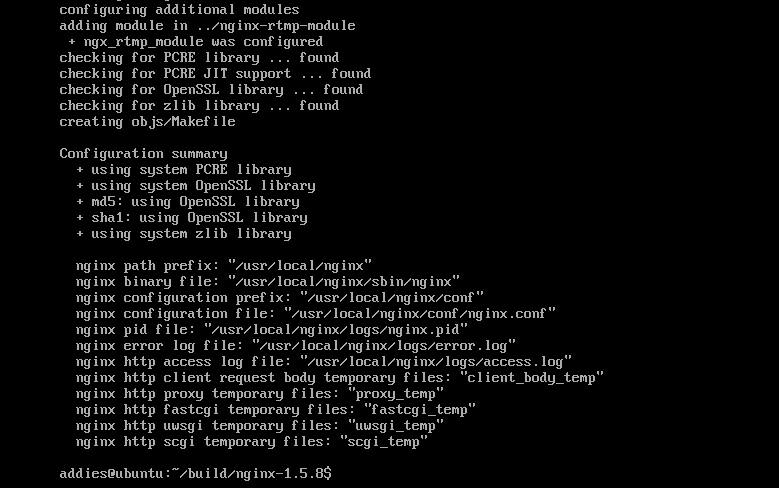
OBS is one of the best free and open source software for video and live streaming. You can share any videos, games, images, etc with OBS. It is cross platform and it can be run in Linux, Windows and Mac.  Before we start, you need to setup your nginx rtmp server as following my previous guidance on how to build nginx rtmp module and how to setup live streaming with nginx rtmp module.

Assumption that you have installed NGINX RTMP server. In my case, I have installed my NGINX RTMP server in virtual machine with Ubuntu-14.04.5-server-amd64 (just for my own experiment) and run it from terminal with command sudo /usr/local/nginx/sbin/nginx .

Next, download the OBS and installed it on your local computer. Here is an graphical user interface of open broadcaster software.


Pic 1. OBS Graphical User Interface


In Sources, please add (+) Video Capture Device and just click OK then OBS will capture your webcam and you will get result like picture below


Pic 2. Add Video Capture Device


Then click Settings and add the url stream. In my case, URL is rtmp://192.168.135.128:1935/myapp and Stream key is mystream , then click OK


Pic 2. add URL and Strem key


Once the settings is finished then click Start Streaming. To check your streaming, please open your vlc player and input the stream url then play.


Pic 3. Input URL stream in VLC player


Finally, you will get your streaming that play by vlc player. OBS as an input via webcam and stream through NGINX RTMP and VLC as an output to display the result.


Pic 4. Result OBS as an Input and VLC as an Output 


Note:
You can use any kind of input through OBS for example VLC as an input, Image, Animation, Mic, etc and stream through NGINX RTMP.

That's it and hope you enjoy it


Other Topics:


Thursday, March 30, 2017

Setup Live Streaming with NGINX RTMP module


It is a lot of fun to implement live streaming with nginx rtmp module since you can stream movies, live games competition, live news, live music event, etc that it can be seen other people in different place in real time. 
In this project, I used nginx rtmp module that you can get free to build your own live streaming server. Let's start on how to implement live streaming...

First you need to build the nginx rtmp module that you can find the guidance here


Configuring nginx.conf

Next, you need to configure nginx.conf by adding rtmp{} section. Original nginx.conf contains only http{} section.

Here is an example for simple nginx.conf configuration


#user  nobody;
worker_processes  1;

error_log  logs/error.log debug;

events {
    worker_connections  1024;
}

http {
    include       mime.types;
    default_type  application/octet-stream;

    sendfile        on;
    keepalive_timeout  65;

    server {
        listen       8080;
        server_name  localhost;
        
        # rtmp stat
        location /stat {
            rtmp_stat all;
            rtmp_stat_stylesheet stat.xsl;
        }

        location /stat.xsl {
            # you can move stat.xsl to a different location
            # in my case, i used /home/addies/build/nginx-rtmp-module
            root /home/addies/build/nginx-rtmp-module;
        }

        # rtmp control
        location /control {
            rtmp_control all;
        }

        error_page   500 502 503 504  /50x.html;
        location = /50x.html {
            root   html;
        }
    }
}

rtmp {
    server {
        listen 1935;
        ping 30s;
        notify_method get;

        application myapp {
            live on;        
        }
    }
}


Then you can start nginx with command:
sudo /usr/local/nginx/sbin/nginx -s stop
sudo /usr/local/nginx/sbin/nginx


Publishing

Here is the way that we can do publishing the streaming
1. publishing with ffmpeg
2. publishing with Open Broadcaster Software (OBS)

This time, I will use publishing with ffmpeg.
Next section, I will create another tutorial for publishing with Open Broadcaster Software (OBS)


Publishing with ffmpeg

Now, we will do stream test with file location in /home/addies/stream/any_files_for_testing.mp4 
Assumption, you have installed nginx rtmp server (this can be done in virtual machine just for testing if you don't have VPS). In my case, I used virtual machine with Ubuntu-14.04.5-server-amd64 to implement this...just for my own experiement.

Open linux terminal in nginx rtmp server and type command:

ffmpeg -re -i /home/addies/stream/any_files_for_testing.mp4 -c copy -f flv rtmp://localhost:1935/myapp/mystream 

If you use terminal in different computer, then you must change the localhost to your nginx rtmp IP address.

Note:
-i              :  input streaming location
myapp      : routing nginx.conf that you provide in rtmp{} section
mystream : stream key (you can use any name for it)

if you don't have ffmpeg then you must install it by using command 
sudo apt-get install ffmpeg

see on how to install ffmpeg here


Pic 1. ffmpeg stream file is running


then you can see the streaming by using rtmp player. In my case, I used vlc player since vlc support rtmp (you can use other rtmp player).

Open and input the stream url as following picture below
      rtmp://192.168.135.128:1935/myapp/mystream

Please change the IP Address 192.168.135.128 to your IP Address


 Pic 2. Input stream url into vlc


Finally, you will get the streaming result as below


Pic 3. Streaming result


The above sample is just streaming without any conversion. I use any_files_for_testing.mp4 codecs are compatible with rtmp.

If you need streaming and encoding audio (AAC) and video (H264), need libx264 and libfaac  then here is the command:
ffmpeg -re -i  /home/addies/stream/any_files_for_testing.mp4  -c:v libx264 -c:a libfaac -ar 44100 -ac 1 -f flv rtmp://localhost/myapp/mystream


Thank you for reading my tutorial and hope you enjoy it.


See you in next tutorial


How to build NGINX RTMP module


This project was implemented in Ubuntu-14.04.5-server-amd64


Preparation in build utilities by typing command as below
sudo apt-get install build-essential libpcre3 libpcre3-dev libssl-dev


Create build folder. In my case, I created in /home/addies/build
sudo mkdir ~/build
cd ~/build


Download and Unpack nginx-rtmp-module
sudo git clone git://github.com/arut/nginx-rtmp-module.git


Download and Unpack nginx source
sudo wget http://nginx.org/download/nginx-1.10.2.tar.gz
sudo tar xzf  nginx-1.10.2.tar.gz
cd nginx-1.10.2


Build nginx and add rtmp module
sudo ./configure --with-http_ssl_module --add-module=../nginx-rtmp-module
sudo make
sudo make install


Pic 1. Result  configure nginx rtmp


Pic 2. Result make nginx rtmp


Pic 3. Result make install nginx rtmp


Start nginx server
sudo /usr/local/nginx/sbin/nginx


Reload nginx server
sudo /usr/local/nginx/sbin/nginx -s reload


Stop nginx server
sudo /usr/local/nginx/sbin/nginx -s stop